Beginners
No programming experience is required, just follow the pictures, texts and videos to complete assembly, startup and basic operations.
Get started
One-click flashing · Windows / macOS / Linux
Compare Microduck Robot kits Self-assembly
Ask on WhatsApp or by email for current pricing, availability and shipping.
MEET YOUR NEXT ROBOT
Microduck Robot is an open-source biped robot duck kit built around Arduino Uno Q and 15 serial servos. Assemble and calibrate it, then use a browser to control its movement.
Contact us for current pricing
Guides & comparisons ↓Please read the pre-purchase instructions before purchasing ↓Watch promotional video ↓
Chat on WhatsAppAssembly required. Code and structural STL files are open source; see the kit lists for the contents of each edition.
To set up basic motion control, choose one of the following two methods.
No programming experience is required, just follow the pictures, texts and videos to complete assembly, startup and basic operations.
View development documentation, hardware interfaces, sample code, and open source files to program, extend, and customize your duck.
Hardware, runtime and training code. All open source.
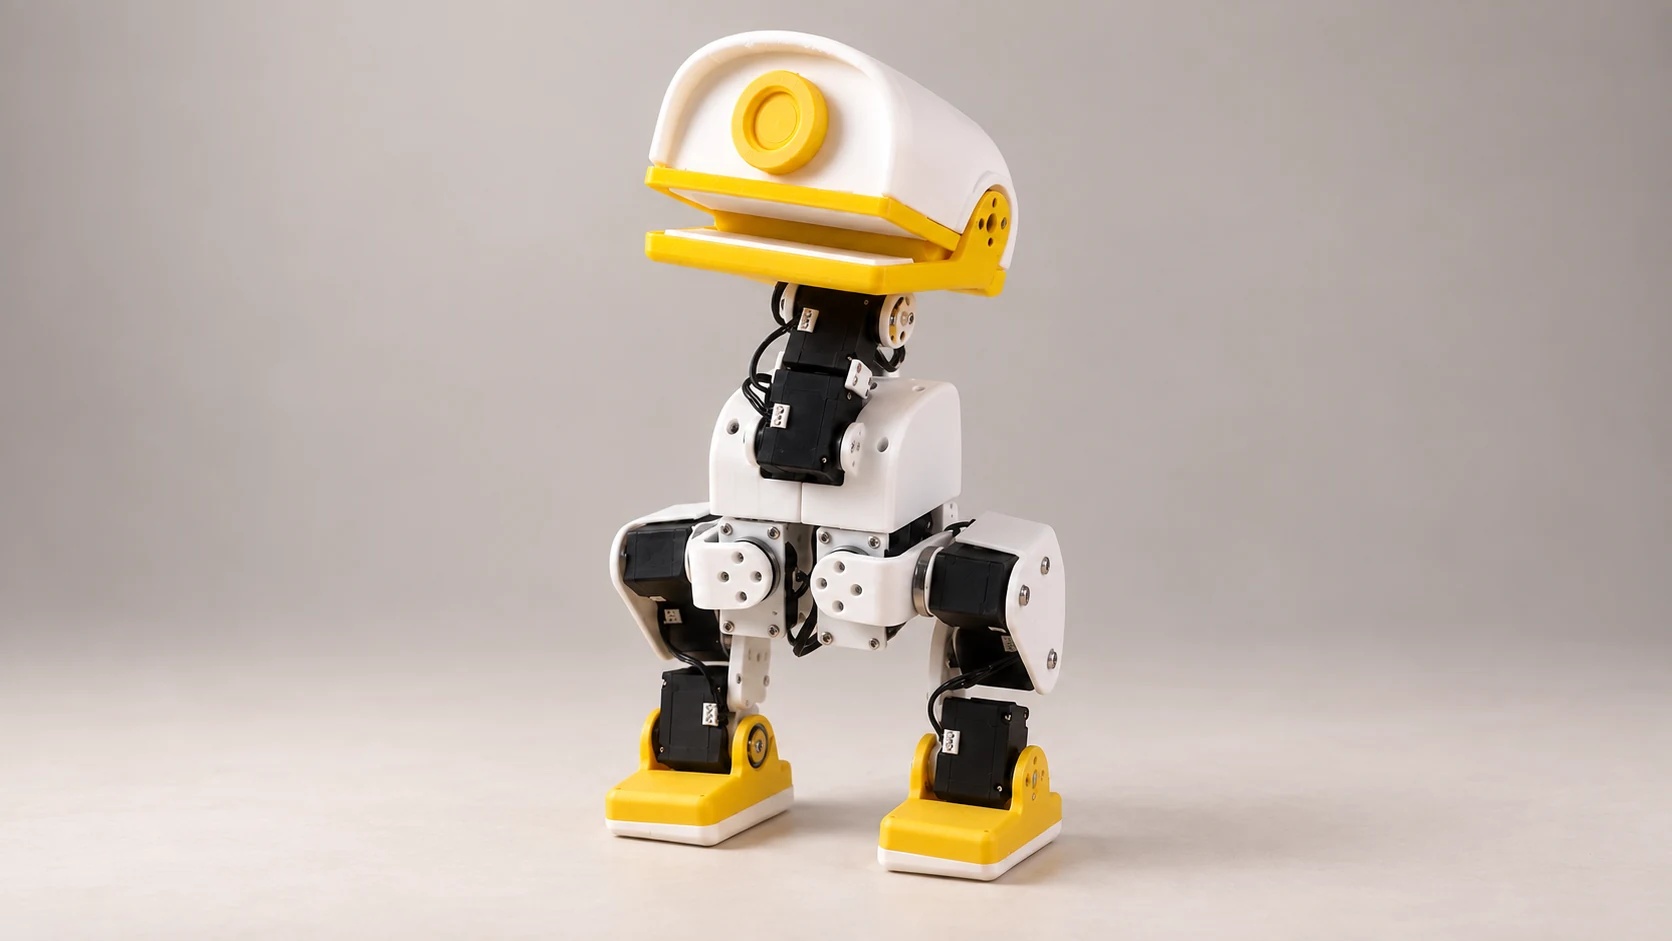
Microduck Robot / EDITIONS
Microduck Robot / RESOURCES
Plan your DIY biped robot assembly, assign servo IDs, calibrate joints and check the first standing pose with the upstream Microduck Robot procedure.
02 ↗Connect to your own Microduck Robot, check calibration, start browser-controlled walking and diagnose common connection or edition mismatches.
03 ↗Compare Microduck Robot editions, assembly requirements, audio, camera, ToF and software. Understand how the Microduck robot project differs from the Microduck Robot adaptation.
01 / MEET Microduck Robot
In 86 seconds, take a closer look at Microduck Robot’s movements, structure, and open source gameplay.
The video cannot be played temporarily, please try again or open the video separately. Open video ↗
02 / IN THE REAL WORLD
Stand up, take steps, bend down and pick up the cloth. In his small body, there is a robot experiment taking place.
Watch the learned movement strategies turn into real steps before your eyes.
From falling to the ground to getting up, explore how the robot regains its posture.
Lean down, open your mouth, and try to pick it up.
This video demonstrates a physical prototype; features depend on the linked open-source project. Contact us on WhatsApp or by email with questions.
The video cannot be played temporarily, please try again or open the video separately. Open video ↗
03 / MADE FOR CURIOUS MINDS
From the first glimpse to the first action. Microduck Robot leaves room for you who like robots and exploration to continue creating.
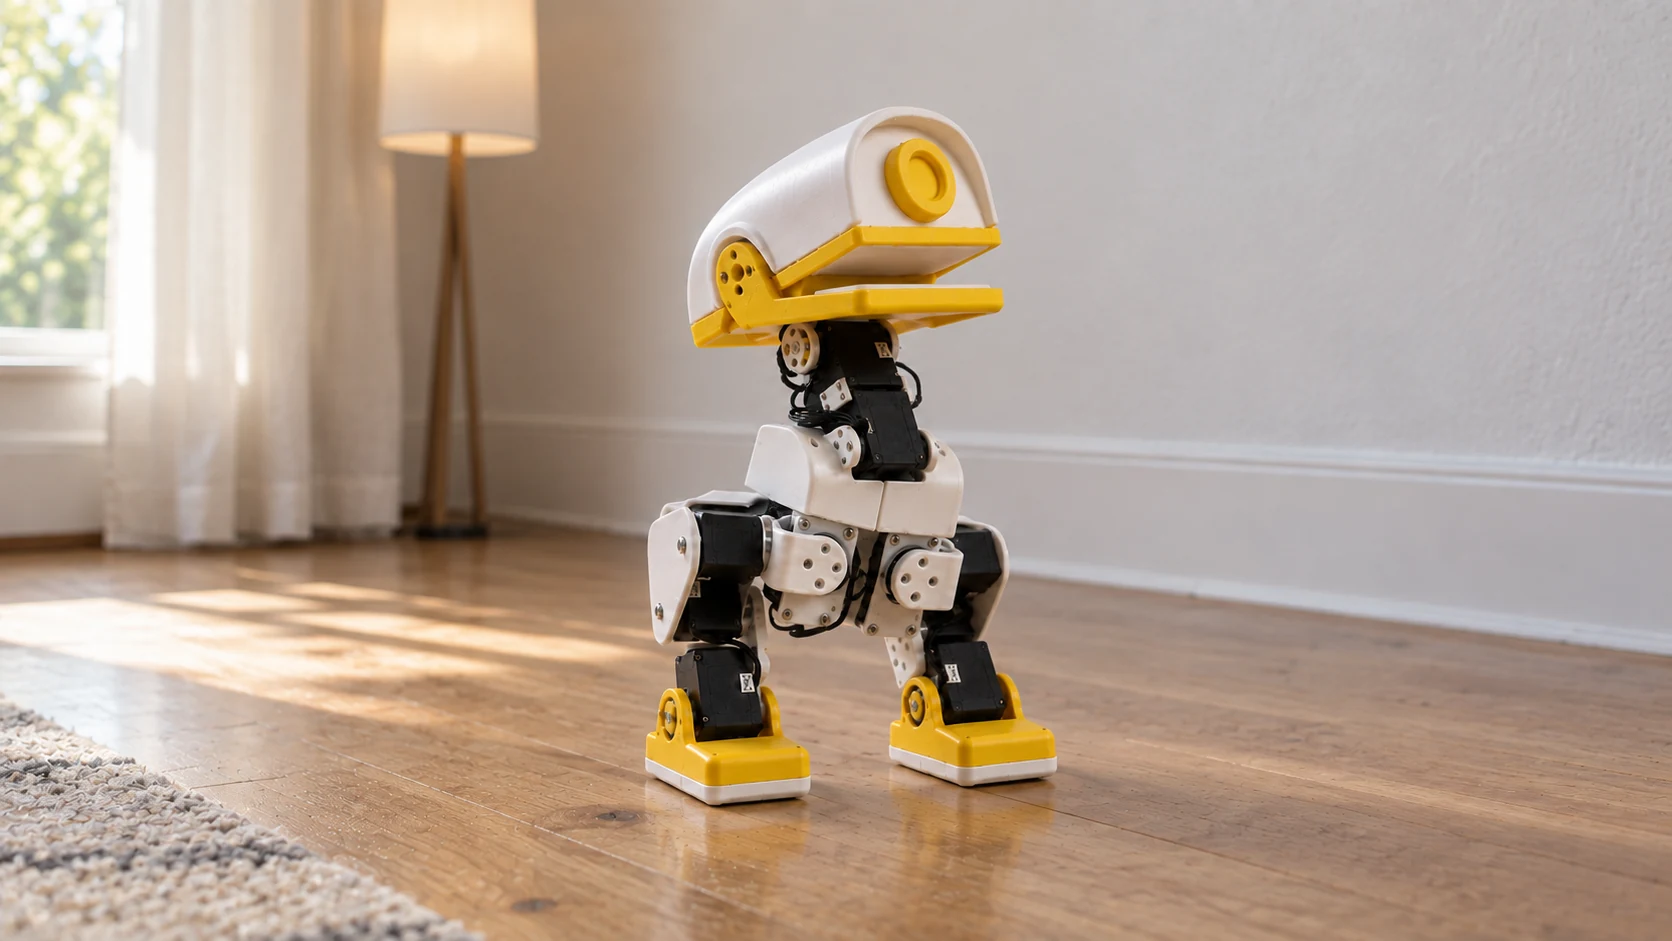
The 3D printed structure and 15 serial port servos make every turn and step traceable.
Based on Arduino Uno Q, the project provides web control, servo setting and calibration interfaces.
Explore hardware information and training code to study your own robot movements.
YOUR NEXT ADVENTURE
The full kit includes audio, camera and ToF modules and requires self-assembly. Check the component list, then contact us to discuss the kit.
Questions / Contact
WhatsApp · +852 5604 2694
Ask about kits, assembly or development on WhatsApp, or email sales@microduck-robot.com.
Kit inquiries
Ask about the current price, kit contents and shipping before placing an order.
Ask about the full kitUse WhatsApp or sales@microduck-robot.com for kit and order inquiries. Technical source documentation remains linked separately.
MICRODUCK / Microduck Robot
The original Microduck robot is a Pollen Robotics project. The micro duck robot kit described on this site is based on Luwu Dynamics’ adaptation of Microduck and microduck_rl. Use the documentation for your exact hardware revision and software version; firmware is not automatically interchangeable between projects.
microduck-robot.com presents Microduck Robot information and accepts kit inquiries via WhatsApp or sales@microduck-robot.com. Technical source links lead to Luwu Dynamics and Pollen Robotics resources.
For a DIY biped robot project, start with the Microduck Robot hardware repository for design files, structural STL files and assembly instructions. The basic kit requires a separately 3D-printed shell. This 3D printed biped robot uses 15 serial servos; check the bill of materials before sourcing parts. Separate repositories provide runtime code and reinforcement-learning training code. Check each repository’s license and version before reusing files.
Both editions support biped movement and servo calibration. The full kit adds audio, a camera and ToF distance sensing; the basic kit does not include these modules. Check the relevant bill of materials and seller listing for the exact package.
The illustrated instructions below form a biped robot tutorial covering assembly, servo IDs, joint calibration and browser-based biped robot control. The controller is specifically Arduino Uno Q. Configure one servo at a time, then calibrate each joint before walking. Ordinary operation needs no separate GPU computer; training your own movement policy requires a compatible CUDA-capable GPU computer.
Contact us on WhatsApp at +852 5604 2694 or email sales@microduck-robot.com for a quote and current availability and shipping details. Confirm the kit contents, delivery and after-sales terms before ordering. Sending an inquiry does not reserve stock or confirm an order.
DUCK SETUP
According to the computer operating system and chip type, select the corresponding version to download.
The entire package uses Microduck Robot AI for its voice, video and ToF functions.View the complete kit installation instructions ↗
For Intel / AMD 64-bit computers
Choose by Mac chip type
Choose based on your computer’s processor architecture
Windows version · EXE file
After completing the software deployment, follow the sequence below to set up and use Microduck Robot.
Run the Microduck Robot application in the Arduino App Lab. After waiting for the application to run successfully, access the device's IP address, port 9527, in your computer browser.
Access format: http://deviceIP:9527/. 192.168.2.97 is an example only, please replace it with your device's actual IP address.
Enter the Servo setup page. Only connect one servo that needs to be set at a time; the default ID of a new servo is 1, and duplicate IDs on the same bus will cause errors.
Be sure to remember the ID and installation location of each servo and avoid confusion. The ID 10 selected in the screenshot is an example. The default ID 1 should be selected when setting up a new servo for the first time.
After completing the ID settings of all servos, follow the assembly instructions to complete the assembly of the duck and connect all cables.
View hardware and assembly informationAfter powering on, run the application in Arduino App Lab, open the control page, and click Calibration to enter the calibration interface.
When entering the calibration interface, all servos are in the unloaded state. Turn a joint to the zero position by hand, and then click Set center & hold corresponding to the servo; at this time, the servo will remain at the current position. Complete the calibration of all joints in sequence.
In the calibration attitude, all links should be in a vertical or horizontal state. It is normal to be unable to stand in this posture. This step is only used to calibrate the servo position.
After all joints are successfully calibrated, return to the Control page and click Default pose. Normally, the duck will maintain its default posture and be able to stand.
After confirming that the duck can stand normally, unplug the USB Type-C cable and place the Microduck Robot on the ground to avoid damage from falling from high places.
Click “Walk / get up” to load the reinforcement-learning walking and get-up policies, then use the joystick to control walking speed.